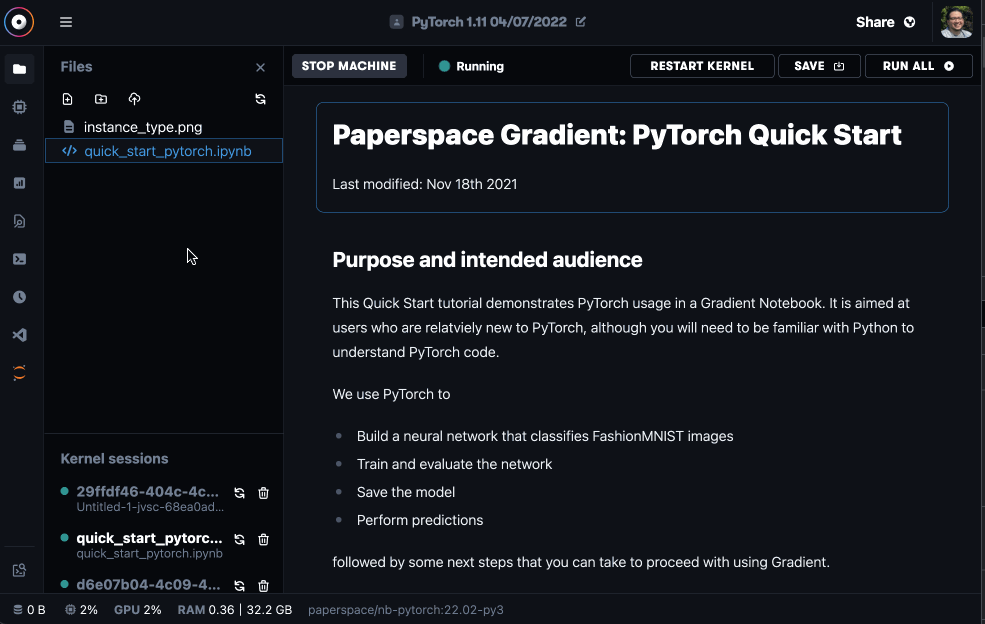
Notebooks are a web-based Jupyter IDE with shared persistent storage for long-term development and inter-notebook collaboration, backed by accelerated compute.
Jupyter kernels are accessible through familiar IDEs like Visual Studio Code and PyCharm. This allows access to the compute connected to the kernel and command line access to the file system from within the IDE. This is not SSH access, so it does not integrate natively with the IDE file manager.
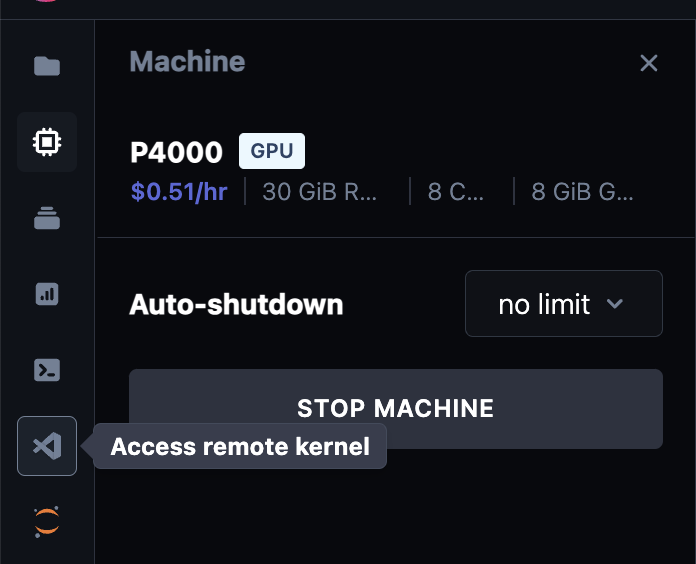
In the Paperspace console, click the Access remote kernel icon in the sidebar, then copy the URI needed for remotely connecting in the IDE.
To run the remote kernel in Visual Studio Code:
Install the Jupyter extension from the Extensions panel.
Create a Jupyter Notebook by running the Create: New Jupyter Notebook command in the Command Palette.
In the top right corner of your notebook, click Select Kernel to open the kernel picker Alternatively, in the Command Palette, enter Notebook: Select Notebook Kernel.
Select the Existing Jupyter Server option and enter the copied URI.

Confirm that you are connected to the remote kernel by running !ls / in a Jupyter notebook cell. You see an output similar to the following which confirms that you have access to the kernel file system.
bin        dev     lib     libx32  notebooks   root    srv        tmp
boot       etc     lib32   media   opt         run     storage    usr
datasets   home    lib64   mnt     proc        sbin    sys        var