Workflows automate machine learning tasks, combining GPU instances with an expressive syntax to generate production-ready machine learning pipelines with a few lines of code.
Using the Paperspace GUI and CLI, you can create new Workflows, import existing ones, and run them.
A new workflow may be created via the Gradient console or via the Gradient CLI. The simplest way to create a new workflow is to use the templates available in the console.
The first step is to create a new project in Gradient or select an existing project.
Next, navigate to the Workflows tab and choose one of the starter tiles in the Select a template section.
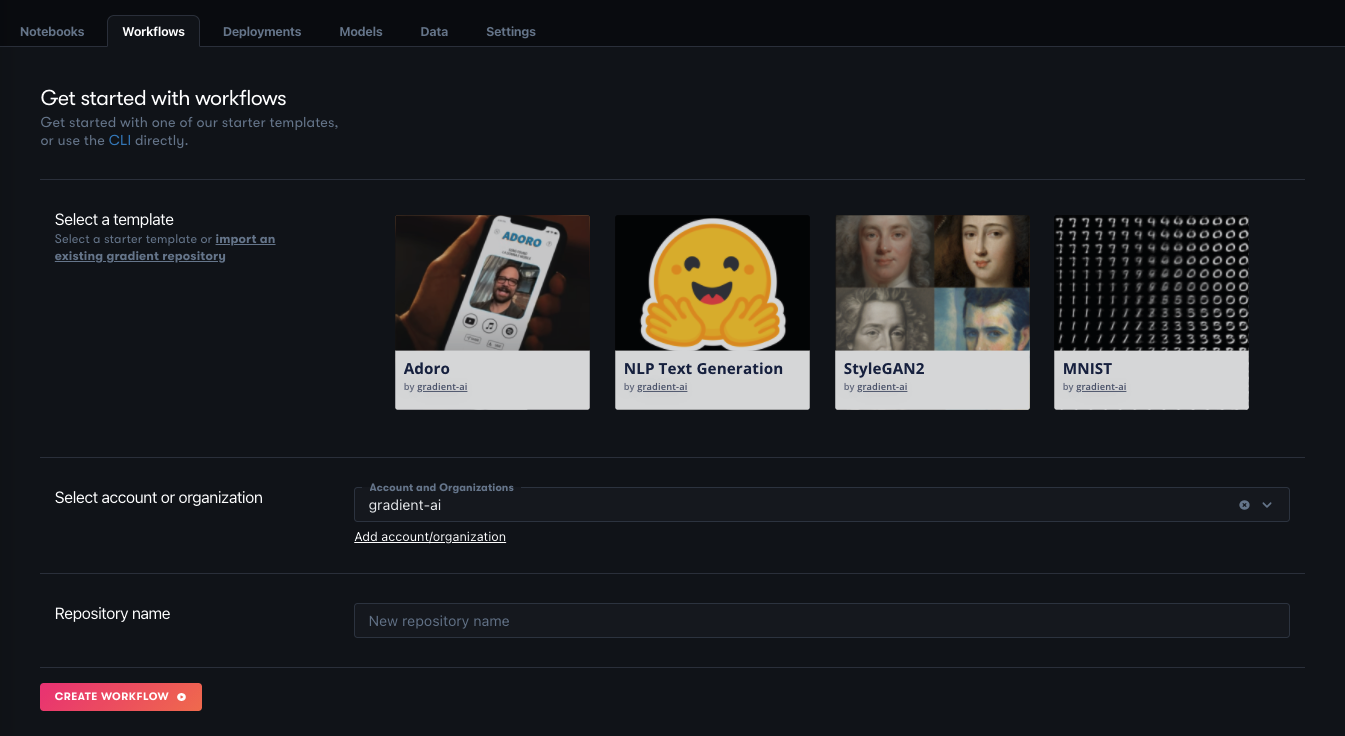
In the Select account or organization section, connect this workflow to GitHub. The GitHub connection is required to run a workflow because it allows Gradient to trigger workflow runs when new code is pushed to the repository, thus providing the basis for CI/CD.
All that remains is to give the workflow a name in the Repository name section. Select Create workflow to get started.
It is also possible to create a workflow using the Gradient CLI.
The first step is to make sure the CLI is up to date by running the following command:
pip install -U gradient
The next step is to create a project and grab your project ID. The project ID is available in the tile that contains the project in the Gradient console. You can create a project that integrates with a GitHub repo or a create a standalone project. Use a GitHub project if you already have code you are working with in GitHub.
Now it’s time to run a workflow using the CLI:
gradient workflows create --name <my-workflow-name> --projectId <project-id>
The command returns an ID for the workflow, for example, 7634c165-5034-4f49-95fa-005fc0e7970b and the new workflow should now be visible in the Gradient console.
To import an existing Gradient repository, head to the Gradient console, select the Workflows tab, and create a new workflow.
Next, select the text link that says Import an existing gradient repository and select an existing Gradient project from GitHub.
This takes you to the Let’s create a Workflow screen, where you can follow its instructions to create one, or run an existing workflow.
You can run Workflows by triggering them to run by making a change to your linked GitHub repository or by invoking them directly using the command line.
You can trigger Workflows to run from Gradient by placing them in the .gradient/workflows directory in your linked repository. Create this directory if it does not exist.
Within the Workflow YAML, the on: field is used to indicate that this Workflow is to be triggered to run when the given conditions are met. For the general case of any change to the repo triggering the Workflow to run, the YAML lines are:
on:
  github:
    branches:
      only: main
Currently, this is the condition set that works, so to prevent a Workflow being triggered, comment the lines out.
Run the Workflow with the specified Workflow spec file and the workflow-id from the previously created Workflow. (You can also get a list of Workflows by running gradient workflows list.)
gradient workflows run \
    --id <worklow-id> \
    --path ./workflow.yaml
A Workflow can be run multiple times, each with the same or a different Workflow YAML spec. The Workflow spec is recorded as part of the Workflow run so you can distinguish different runs.
The next sections cover the syntax for authoring new Workflow specs, inputs and outputs to Workflow steps, and various Workflow actions.